Hi, I’m Jeremy, also known as
Dreadfullyposh
What I do with 5 Raspberry Pi 4 single board computers
How I went from avoiding the Raspberry Pi to using 5 of these small computers to power essential services around my home.
This story originally appeared on Medium. View on Medium »
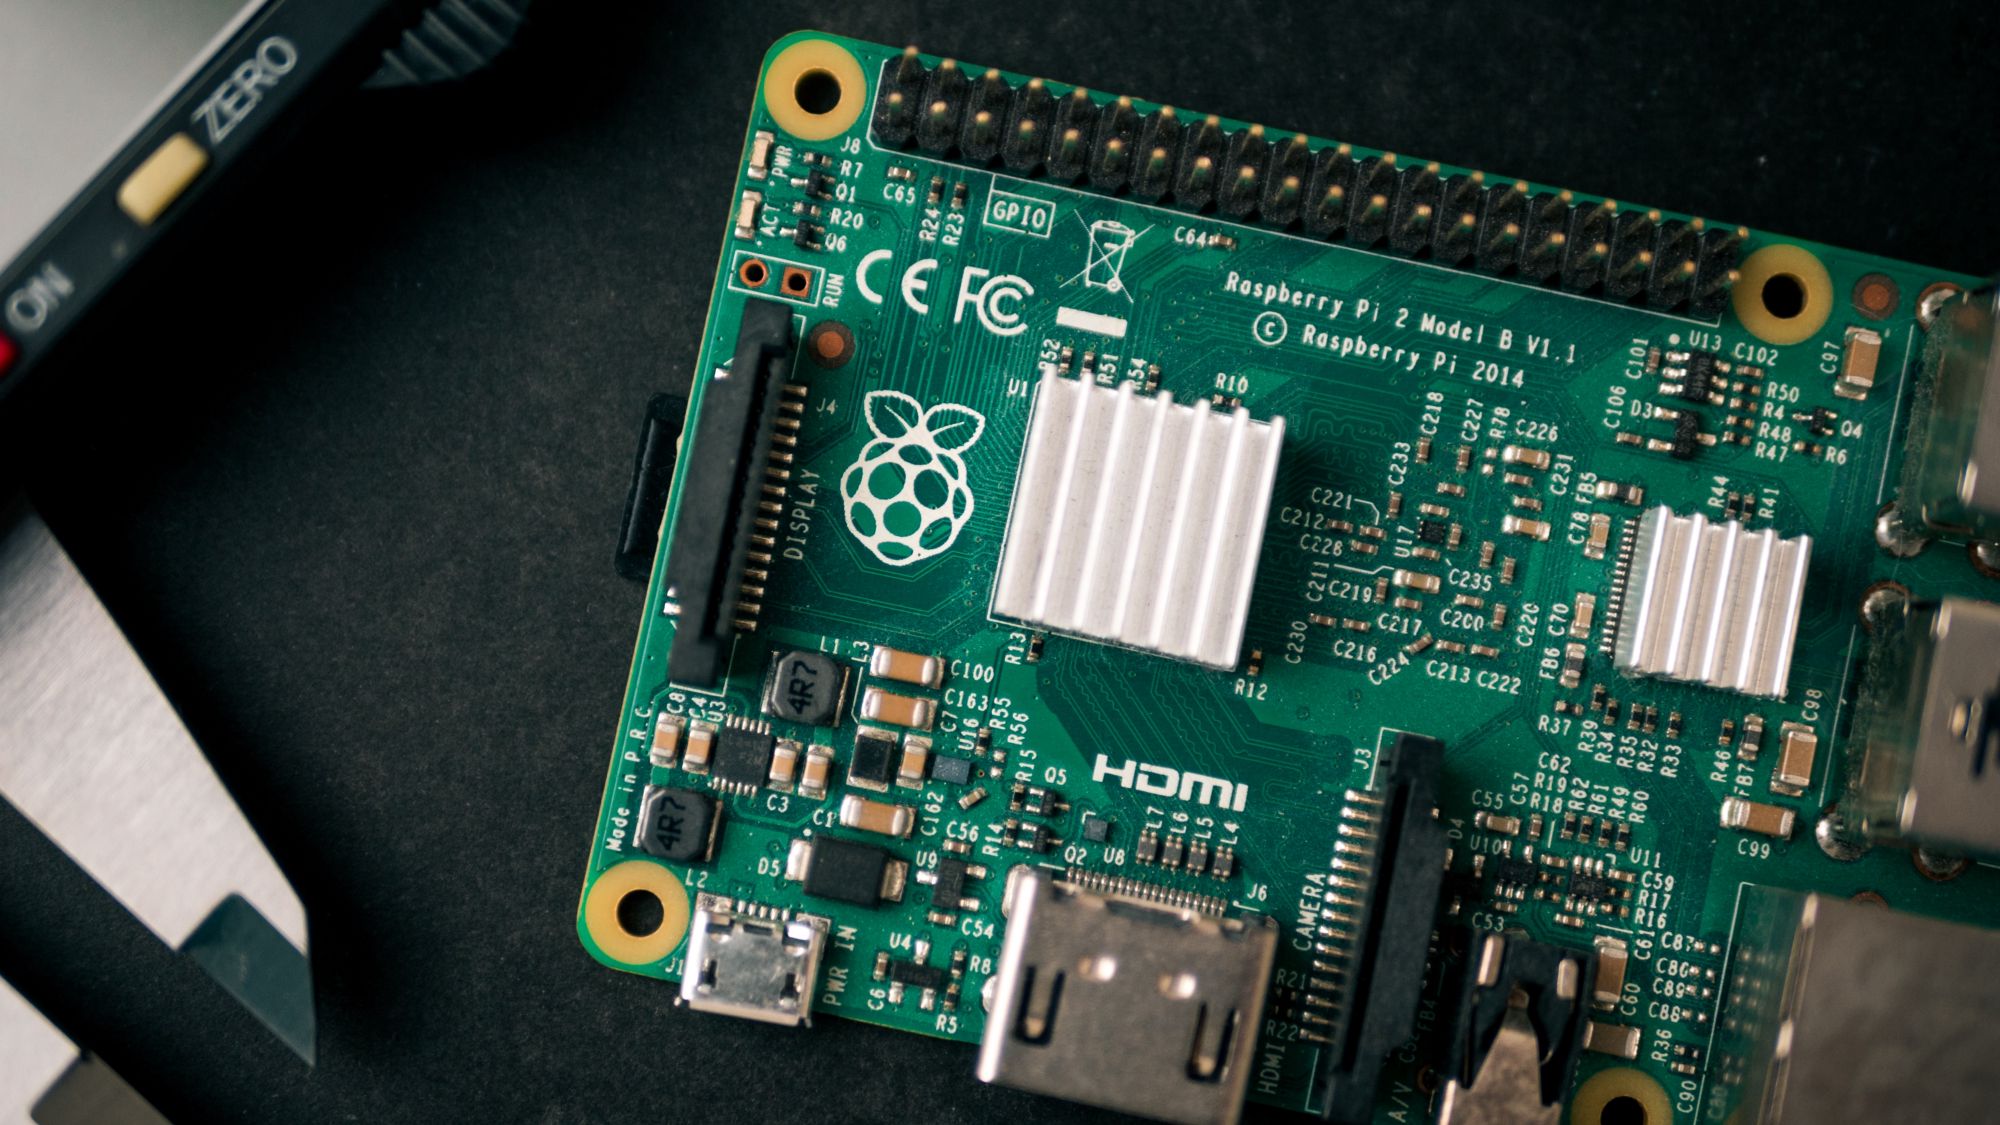 Photo by Harrison Broadbent on Unsplash
What I do with 5 Raspberry Pi single board computers
Up until this year I've always avoided the itch to buy a Raspberry Pi or any of the other single board tinkerer/hobbyist computers on the market that are popular among nerds like myself. From what I saw, they were always more focused on tinkering with electronics and robotics and less of a usable PC replacement. In high school and college, I did a lot of tinkering with hardware and electronics, and since then my interests have shifted more towards software, so revisiting the world of hardware wasn't really something I was looking to do.
But this year as Covid-related boredom set in over the summer, and I spent many hours mindlessly watching YouTube videos, I learned that the latest generation of the popular single board computer, the Raspberry Pi 4 model B, was much more powerful than previous models. I came across some interesting projects built with Raspberry Pi computers with web development and infrastructure technologies that interest me, so I decided now was the time to re-ignite my teenage passion for setting up networks and servers, albeit in a much smaller and more energy efficient form factor than I had in the late 90s and early 2000s. It's been years since I've done any projects with "bare metal" as most of my infrastructure has been in the cloud.
After a couple of months and five Raspberry Pi computers later, here are some of the projects I've built and kept around.
1. Network attached storage (NAS) server
Building a NAS was my first Pi-powered project. For the last 5 years or so, I've had a Mac Mini from 2010 acting as a file server. It can no longer update to new versions of MacOS, and even with the latest version it supports, everything about this setup was slow.
During my YouTube binges, I came across OpenMediaVault, a Debian Linux-based, open source NAS platform that runs well on a variety of hardware, including the ARM-based Raspberry Pi. (Interestingly, the creator of OMV, as it's known by its fans, was the lead developer of FreeNAS before it was acquired by another company.)
I bought a 4 bay external USB-connected RAID array enclosure to house the hard drives and provide me with nearly 11TB of redundant storage. While the enclosure and drives were not super cheap, the Raspberry Pi that powers my NAS was, and this setup could easily be set up with more affordable external USB 3-connected storage.
I've found this setup to be incredibly fast compared to my old Mac Mini, and the software has a ton of flexibility for services and plugins, and it even has Docker built in, allowing for running containers directly from OpenMediaVault.
2. Home automation hub
I've long been a user of Philips Hue bulbs and Amazon Echo voice assistant devices, and a couple Belkin Wemo WiFi controlled switches, but I hadn't really put much effort into interconnecting the various ecosystems and extending my smart home capabilities outside of what Alexa could do.
But then I came across Home Assistant, which is an open source home automation hub platform. Again it works perfectly on the Raspberry Pi and allows you to create scenes, automations, and control panels to control your devices across hundreds of smart home and internet of things ecosystems. Home Assistant offers a prebuilt SD card "appliance" image for installing on a Raspberry Pi with almost no setup. (Personally I chose to install Home Assistant manually on Raspberry Pi OS, but that's not necessary for most use cases.)
With Home Assistant, I've been able to consolidate controls for my Hue and Wemo devices as well as adding a number of other inexpensive devices that I got through Amazon. There's a ton of documentation and video and written tutorials out there to help you do just about anything with Home Assistant.
3. Docker-based web server
As a web developer, I rely on Docker for setting up infrastructure as code for my projects for local development, staging, and even for production. Being able to run Docker reasonably well on the Raspberry Pi 4 was a big selling point for me, and one of the features that finally pushed me over the edge into buying one. Sometimes there are projects I don't want to run on publicly-exposed cloud servers, but also don't want to run them locally on my Mac. The Raspberry Pi 4 provides a perfect platform for that.
Rather than setup a full-size PC to host these services, I installed Ubuntu Server 20.04 on the new 8GB Raspberry Pi alongside Docker and Docker Compose. With this tools, I can run any ARM-compatible Docker image (of which there are many, but you do need to pay attention to this). I've found it surprisingly works quite well for hosting my LEMP stack projects as well as some other containers.
4. VPN server
With all of my newly-built infrastructure, I wanted to be able to access everything securely from outside of my house. I had previously setup a VPN access on my router, but it was quite slow, and didn't allow me a lot of control over the configuration and type of VPN protocol to use. I was even more unnerved by the plaintext storage of the password in my router's web interface.
I set up PiVPN on a Raspberry Pi to provide a modern, performant, Wireguard VPN without any of the configuration gymnastics. PiVPN is a VPN server installation script that is designed to run on Raspberry Pi computers, but also works on other platforms as well. I simply followed the instructions on the website, and now I have an easy way to access my network services securely outside the house. While PiVPN doesn't provide a GUI to manage the VPN, they do provide a command line utility that greatly simplifies adding and removing connections to the underlying Wireguard software.
5. Home automation control panel
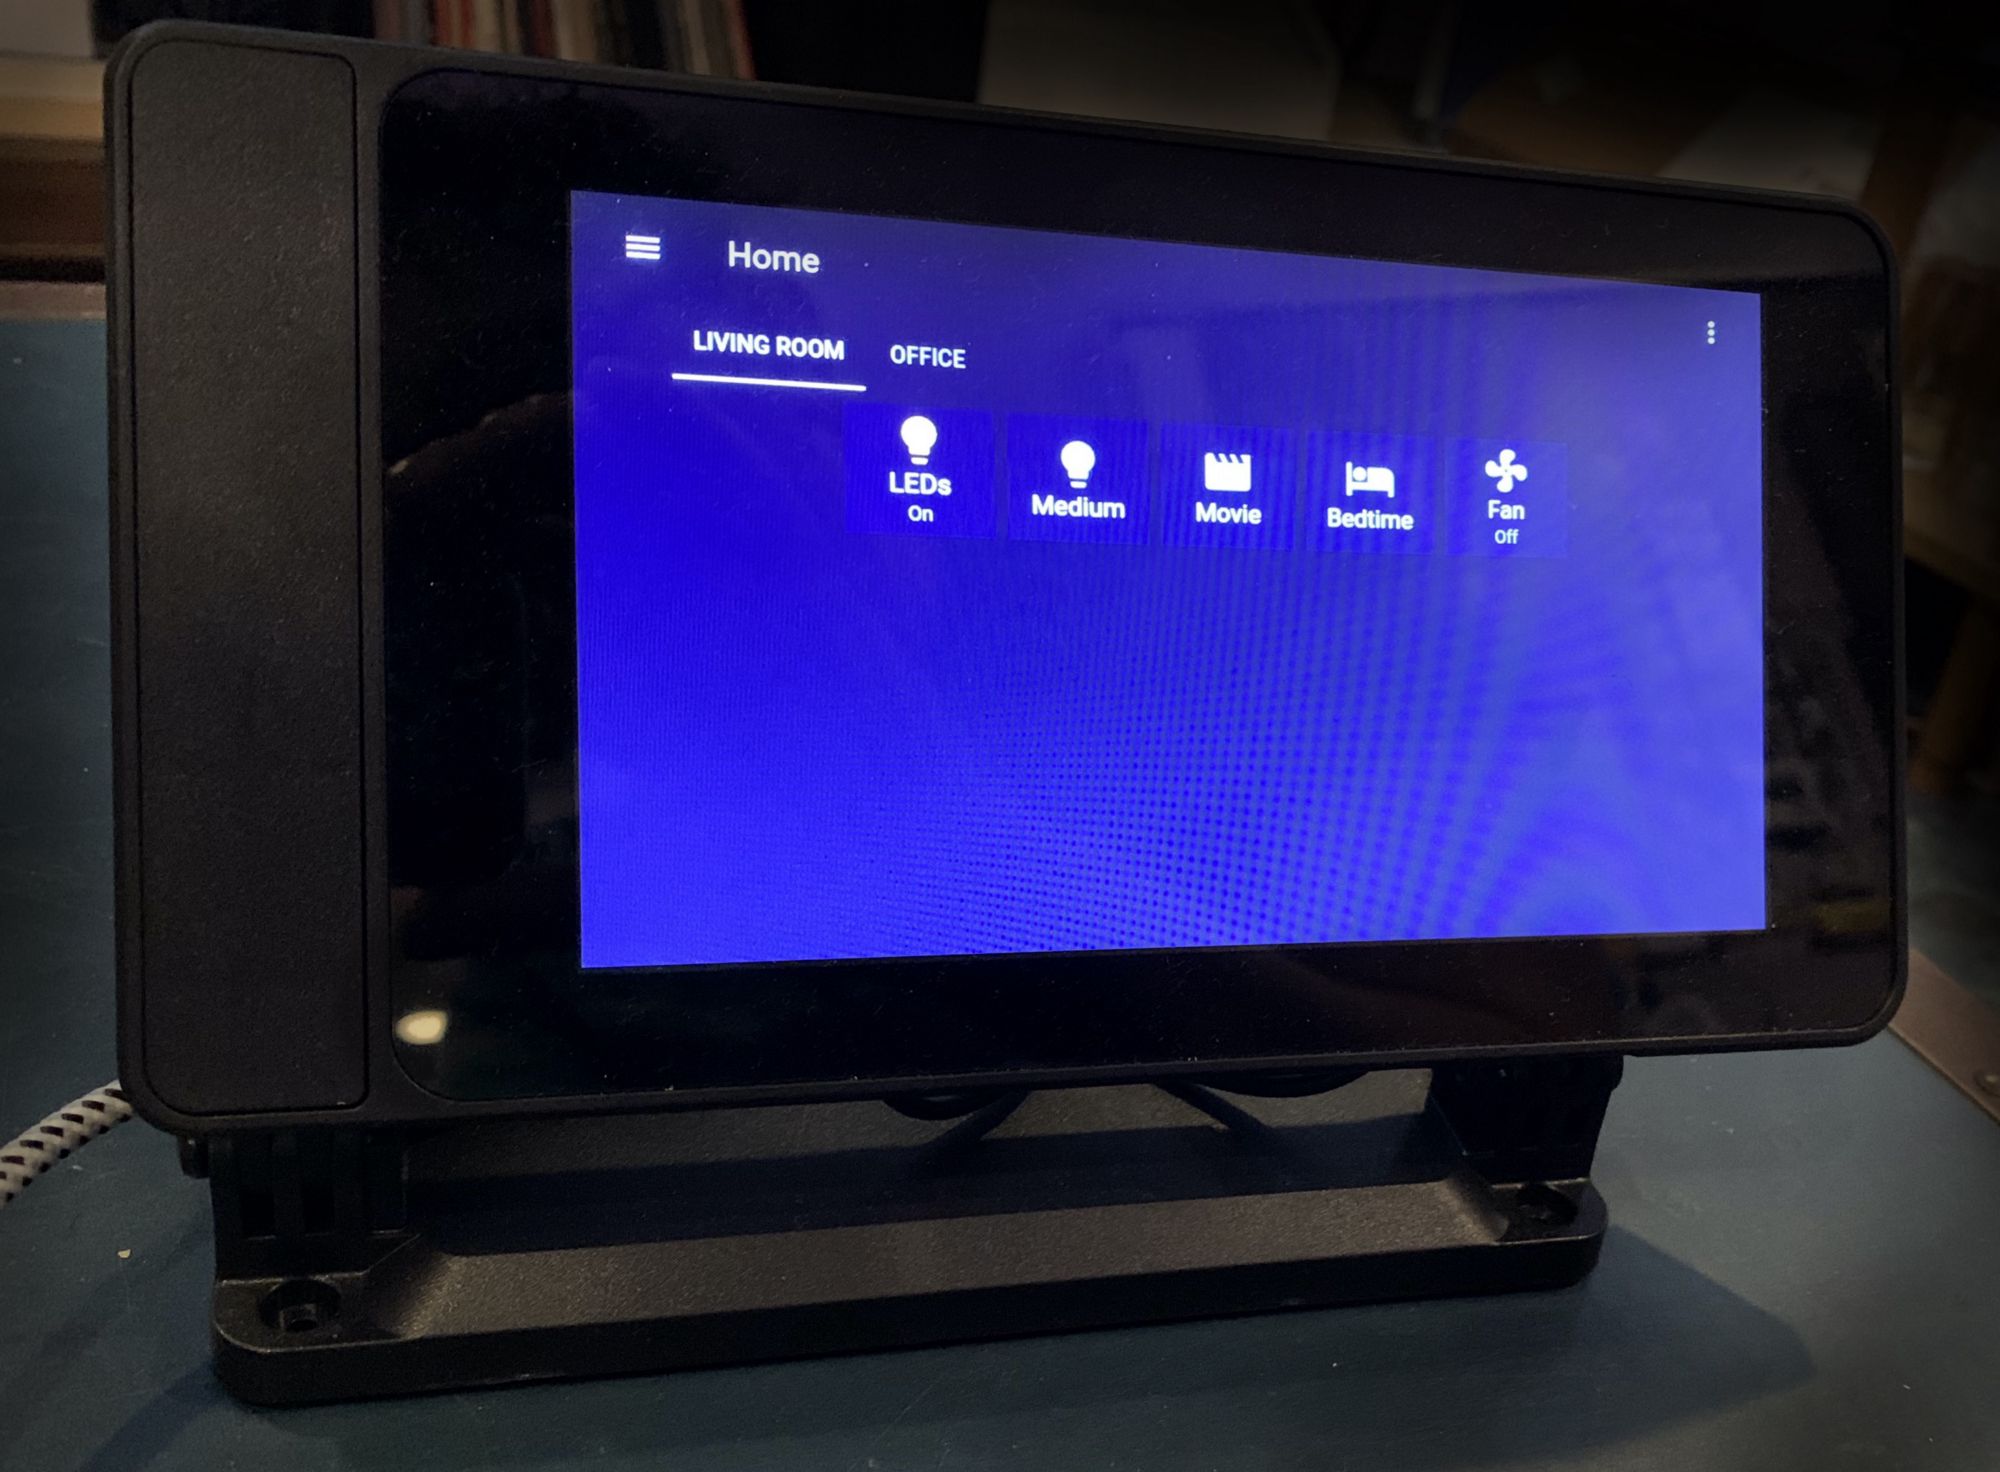 My Raspberry Pi 4 powered Home Assistant touchscreen
With my Home Assistant home automation hub in place, I decided to make a touchscreen control panel with yet another Raspberry Pi 4 to allow me to have quick and easy access to control various parts of my smart home. Since Home Assistant provides a nice UI builder for control panels, all I had to do was install the default Raspberry Pi OS (formerly Raspbian) desktop version and load up Chromium browser in kiosk mode. I got a cool little case which holds the official Raspberry Pi 7" touchscreen and the Pi itself and powers them over a single USB cable.
What's next?
Admittedly, I've become a bit of a Raspberry Pi addict already, though maybe not in the traditional way that many hobbyists and tinkerers use their Pis. I actually have one more that I purchased that's left for experimenting with no projects without having to disrupt the services I have running on the other 5.
With Raspberry Pi OS's 64 bit edition arriving soon, and the transition of Mac to ARM-based processors, I'm excited to see what new capabilities come to the Raspberry Pi in the coming years.
Get in Touch With Jeremy
The majority of my time is spent working for Happy Cog, however I do take on occasional consulting and speaking gigs.
Get in touch with me:
Recruiters, please do not contact me. I’m not looking for employment at this time.
©2026 Dreadfullyposh LLC. All rights reserved.